Credits : The School Of AI
Github code for this post is here
Objective of this article:
- Create a docker image for image classification with pytorch for cpu
- Push this to docker hub – https://hub.docker.com/
- Pull this image into another session & do inferencing running the docker cli command
You can use gitpod.io if there are space limitations in your machine. To use gitpod follow the below steps:
- You need to have a github repo as pre-requisite
- Then, go to https://www.gitpod.io/
- Click Try For Free and login with github as shown below
- Click on new workspace
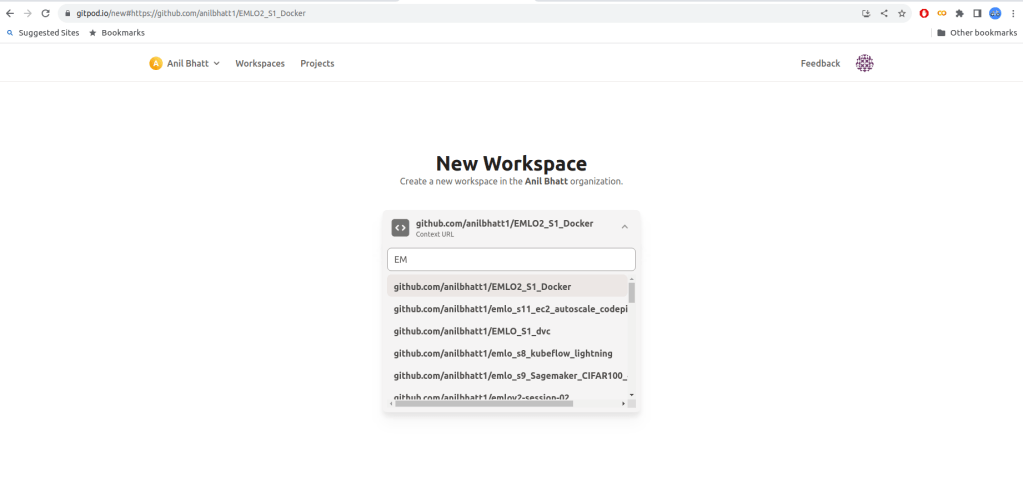
- Select a github repository (here I selected EMLO2_S1_Docker)
- Give continue after confirming remaining options

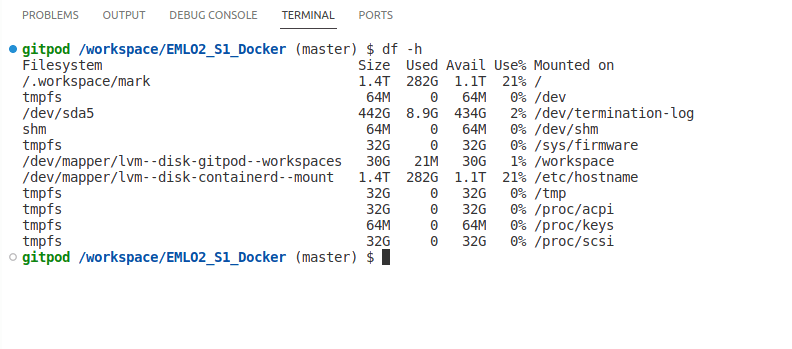
- We can also see that there is enough space available (1.1 TB)
Now, let us get into docker image creation part
1. Create a docker image for image classification with pytorch for cpu
In this article, we are doing an image classification with pytorch. Let us get familiarized with the various files. You can get these files from the github link provided at the begining.
- main.py
- This file does the inferencing logic.
- It accepts a timm model (if you dont know timm, then refer Using Timm in HF and Timm Article by Chris Hughes)
- It also accepts an image url or image path
- It passes the image as input to the timm model and returns the classification result
- requirements.txt
- This file has the requirements to be installed in docker
- We are installing cpu versions of pytorch and torch-vision as GPU versions wiill cause docker image size to be huge
- Dockerfile
- This file is used for installing the docker image
- Entrypoint given is via entrypoint.sh
- entrypoint.sh
- This will run python3 main.py “$@”
- “$@” -> This indicates that pass whatever arguments supplied during docker run command to main.py
Next, build the docker image in local. Here we are building docker image named emlo2s1docker via the docker command as shown below
docker build -t emlo2s1docker .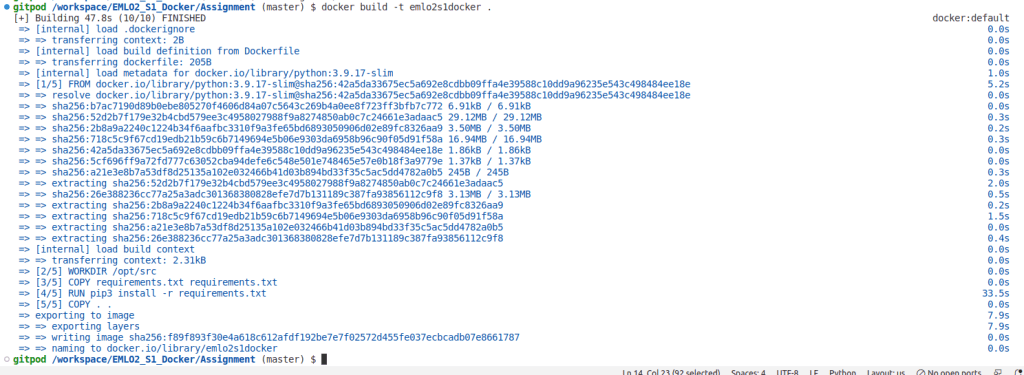
2. Push this to docker hub – https://hub.docker.com/
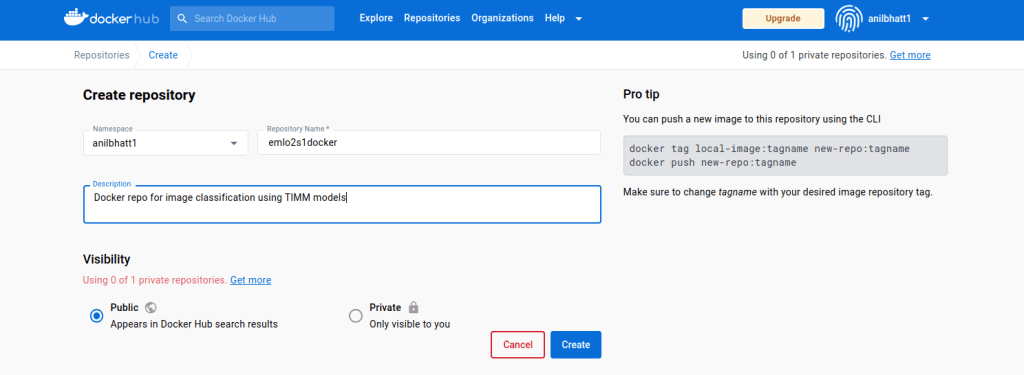
- Go to docker hub https://hub.docker.com/→ login with your credentials
- Create a public repository there (in this example emlo2s1docker)
- It is better to keep repo name same as image name
- Next, login to docker in local using dockerhub user-id & password

- Tag the docker image as below using the docker command
- Here we are tagging the emlo2s1docker image present in our local with anilbhatt1/emlo2s1docker repo that we created in docker hub above.
docker tag emlo2s1docker anilbhatt1/emlo2s1docker - Push the image to docker hub public repo
docker push anilbhatt1/emlo2s1docker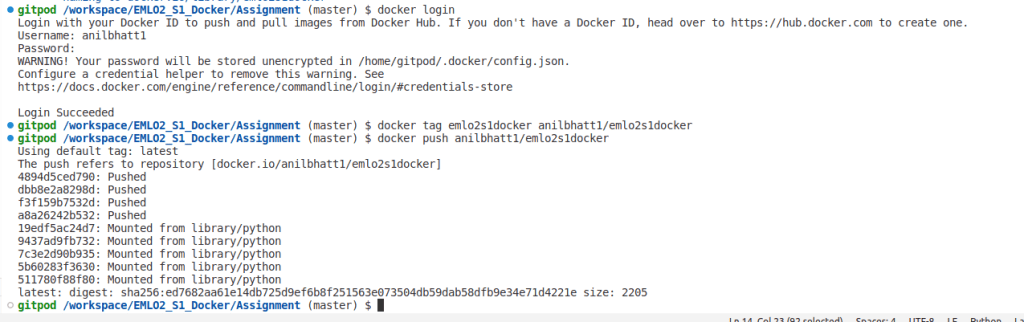
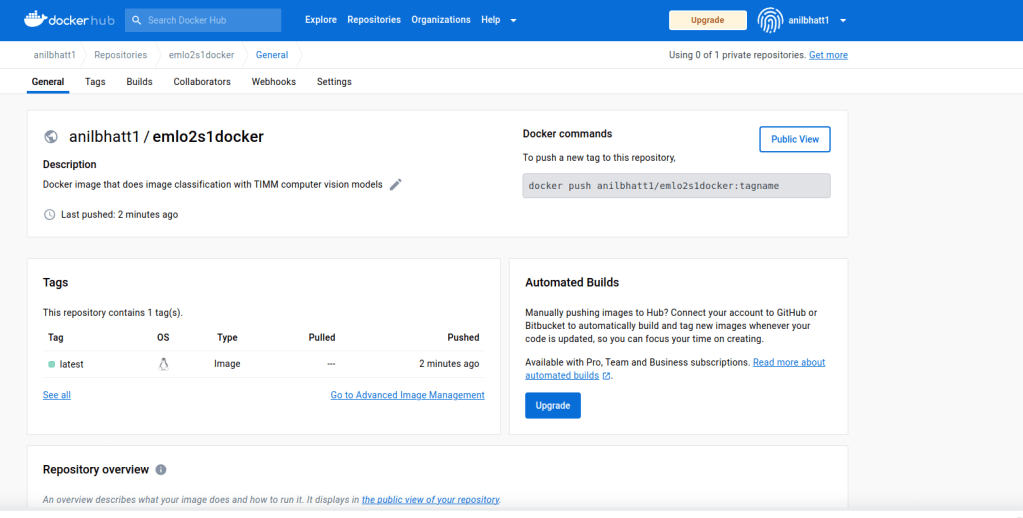
- If all went fine, we should see the image pushed to repo as shown below
3. Pull this image into another session & do inferencing
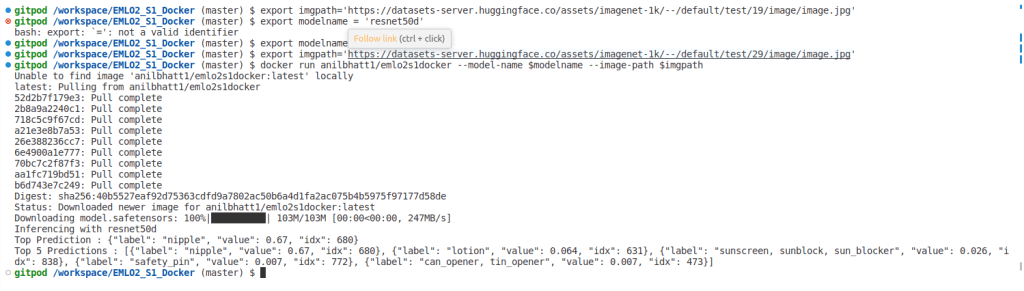
- Now, we can pull image anywhere in the world via below command
docker pull anilbhatt1/emlo2s1docker- Now, let us run the docker image
- We are exporting the image url to an env variable called imgpath
- We are exporting the model name to an env variable called modelname
- Then, we are running the docker image by passing these as arguments
export imgpath='https://datasets-server.huggingface.co/assets/imagenet-1k/--/default/test/19/image/image.jpg'
export modelname='resnet50d'
docker run anilbhatt1/emlo2s1docker --model-name $modelname --image-path $imgpath- Image passed was a nipple

- As, we can see inferencing happened correctly as ‘nipple’ with resnet50d